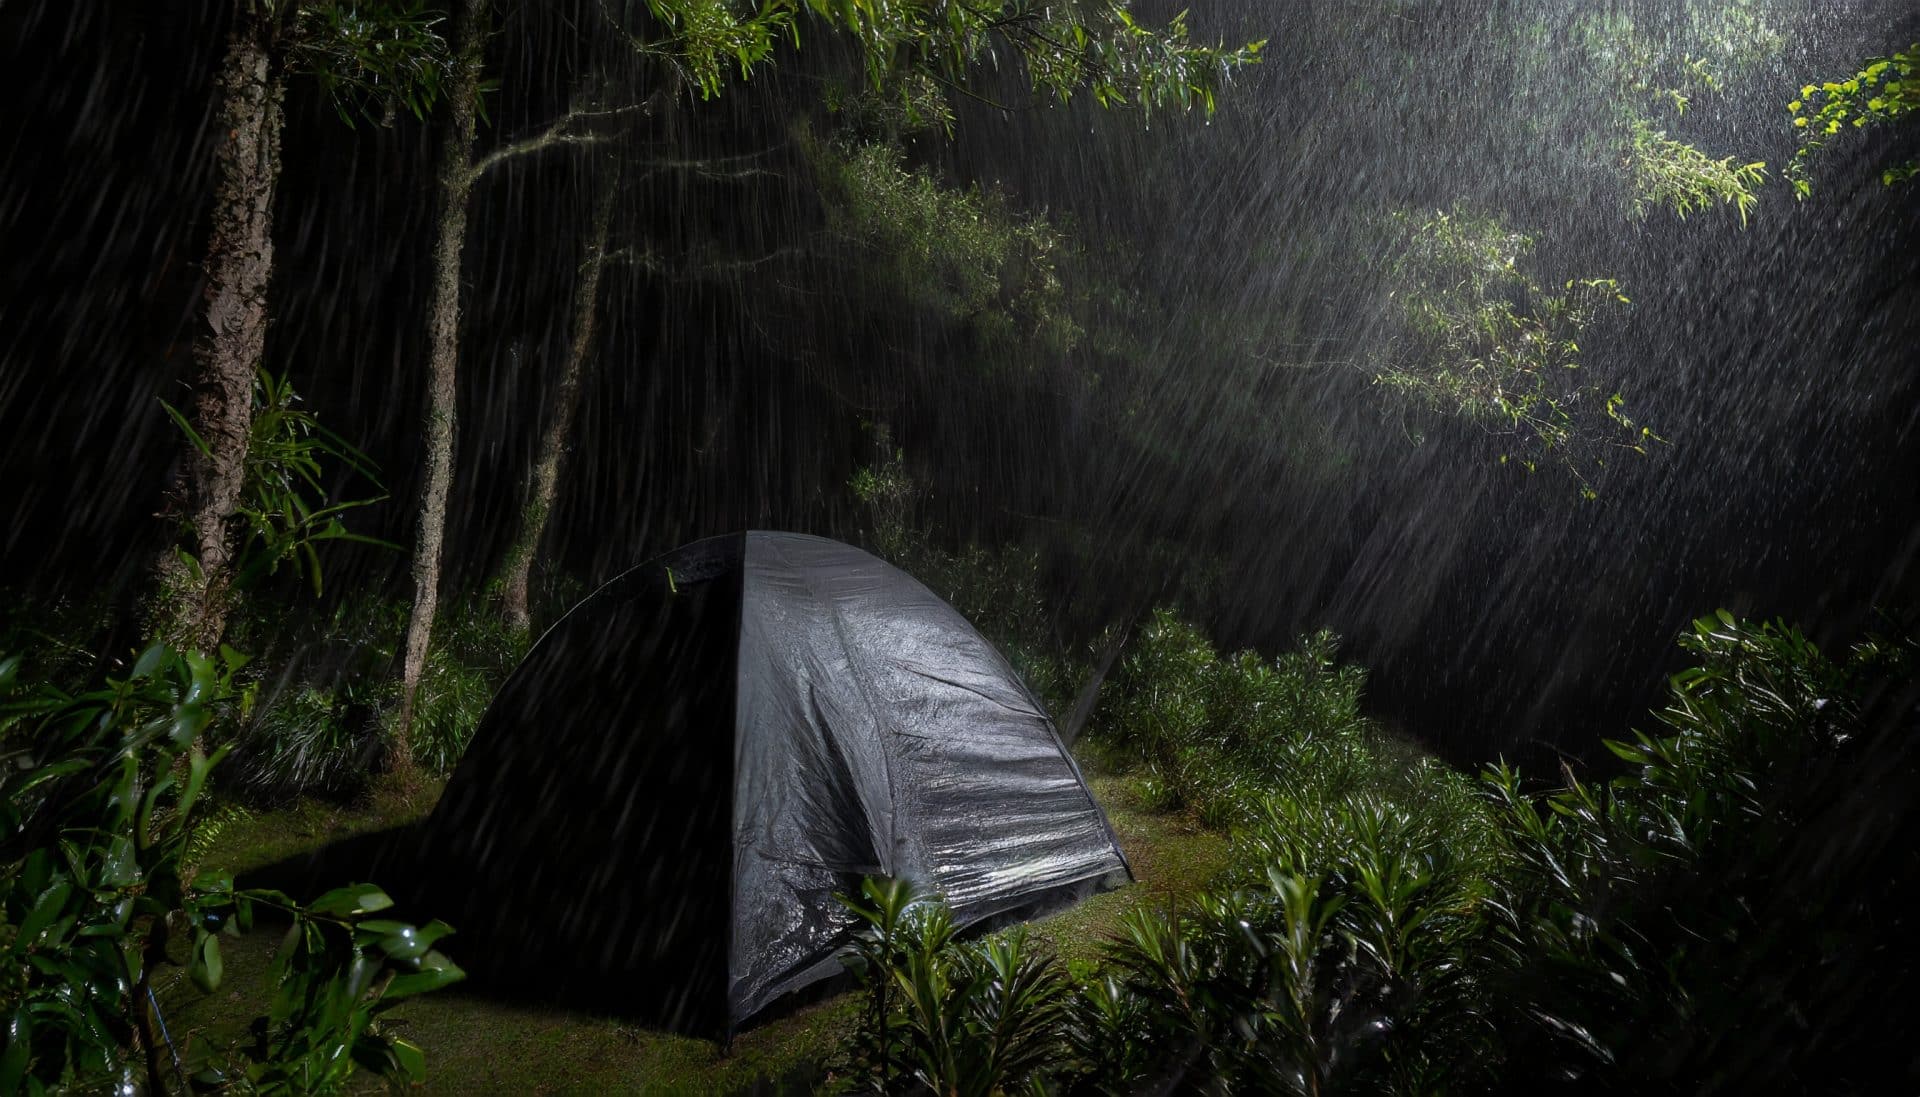
Have you ever bought a new tent with the confidence that you'll remain bone dry because the label said 'waterproof'? Well, guess what? These labels can be misleading. As new campers, we tend to assume that a tent, labelled as waterproof, will shield us entirely from water. However, the reality is a bit more complex and less cut-and-dried than that. While tents are designed to withstand weather elements, they're not entirely waterproof.
Several factors can lead to a tent getting damp or downright soaking wet, and just because it's dubbed 'waterproof' doesn't exempt it from this. You've got your materials and your seam sealing to think about. Then there's the issue of condensation inside the tent or morning dew outside of it. Even packing up a wet tent can lend it to unwanted moisture. Let's dive into these factors and understand how to effectively manage them so that the next time you go camping, you're not caught unawares by an unexpectedly moist tent.
TABLE OF CONTENTS
- Materials Matter: Choosing a Waterproof Tent
- The Importance of a Rainfly: Shielding Your Tent from Rain
- Seam Sealing: The Key to Keeping Dry
- The Battle with Condensation: Managing Moisture Inside Your Tent
- Morning Dew: How to Deal with Exterior Moisture
- Packing Up a Wet Tent: Tips for Drying and Storing
- Beyond Rain: Other Causes of Tent Moisture
Materials Matter: Choosing a Waterproof Tent
Alright, folks, let's dig into the nitty-gritty now, shall we? When choosing your tent, the material is something you should not skim over. After all, it's your only defence against the elements while tucked up in the wilderness.
Now, here's the basic rule of thumb - the higher the Denier of your tent material, the more waterproof it's likely to be. What's Denier, you ask? Well, it's a unit of measure for the linear mass density of fibres. Simply, it's the thickness of your tent material. But remember, with a higher denier comes more weight, so balance is critical here!
Right off, we've got three heavy hitters when it comes to tent materials:
- Polyester: A common favourite. It's lightweight, relatively durable, and, most importantly, water-resistant! But watch out – it degrades faster under UV exposure, so it's not the best for long-haul, sunny trips.
- Nylon: Another popular choice. It's also lightweight and more resistant to UV damage than polyester but not inherently water-resistant—no need to fret, though, as most nylon tents come with a water-resistant coating.
- Canvas: The heavyweight champion here. It's durable, water-resistant, and handles better under UV exposure. But it's also pretty hefty and more complicated to set up. So, the canvas is usually better suited for a family camping trip rather than a solo hike.
Remember, each of these materials will have its share of pros and cons, so lining up a tent that matches your camping style is essential. If lightweight hiking is your thing, a polyester or nylon tent is a good call. However, a canvas tent could be your rugged companion if you're more into laid-back camping and don't mind a little extra weight!
Remember - even water-resistant tents can end up with water on the inside!
It's a common assumption - you pitch your tent, ensure the rainfly is tightly attached, and protect yourself from any incoming rainfall, right? Wrong! Water has a sneaky way of finding its way into your tent, even if you've chosen a tent with a laudable water resistance rating. How so? Let's get into the details.
How does water get inside a water-resistant tent?
You may wonder - if I have a water-resistant tent, why is water sneaking in? Well, the culprit is mostly the seams. Yes, those spots where different sections of your tent are stitched together. These points are prone to leakages by default, especially if not adequately sealed.
The role of a footprint
Another surprising entry point for water underneath your tent. It's a common misconception that your tent won't get wet if it's not raining. Not necessarily so! Moisture from the ground can easily make its way into your tent, especially if you're camping on damp or soggy terrain. A footprint - a specially designed protective underlay - can significantly help to block this upward moisture migration.
Condensation - the unseen enemy
You know what we haven't touched on yet? Condensation. Imagine this scenario – you've sealed the seams, laid out a footprint, and yet wake up somewhat wet. This is often due to condensation when warm air meets the cold tent surface. It's akin to your breath and body heat conspiring to dampen your camping experience.
Time to act!
Now we know why your tent might get wet even when it's water-resistant, it's time we also learned how to fix these issues. Keep your eye out for the subsequent sections, where we unveil practical, sure-fire tips and tricks to make your camping nights as dry and comfortable as possible.
The Importance of a Rainfly: Shielding Your Tent from Rain
You might wonder why some tents have a rainfly, and some don't. A rainfly could be one of your best pals for rainy camping! The rainfly is the additional protection layer covering your tent, helping shield it from raindrops, sleet, and even the morning dew. Whether you want one on your tent will depend a little on how much you expect to use it in the rain. It's nearly necessary on a year-round setup, while fair-weather camping (what most of us do) design is less dependent on one.
Choosing the Right Rainfly
Much like tent materials, not all rainflies are created equal. A high-quality rainfly should be weatherproof - constructed from coated polyester or nylon and painstakingly seam-sealed to prevent any sneaky water droplets from finding their way through. Generally, you want it to cover the entire tent - but - remain aware you don't want to kill off any ventilation completely - otherwise, you will end up with another moisture management problem - condensation!
The Setup Sector
The setup also significantly affects how well your rainfly shields your tent from the elements. It should be taut - not too tight that it rips, but firm enough to repel water and prevent it from pooling. Pooling is when water accumulates on saggy sections of the rainfly, which could potentially apply pressure and cause the material to leak. Remember the motto: 'a saggy rainfly leads to a soggy tent. This is also applicable to a tent without a rainfly.
Dual-Purpose Rainfly
It's also worth mentioning that the rain fly isn't only a shield against moisture and a layer of insulation. When fastened, it forms an air gap between itself and the tent, reducing the heat transfer rate and helping retain warmth within the tent. It's like your tent wearing its own cosy little winter coat! Some tents also allow you to set up the rainfly, not the inner tent - creating a separate, lightweight shelter option.
In summary, don't underestimate the power of a well-chosen, well-fitted rainfly. It's a big player in the camping game, fending off rain and adding a layer of insulation. Of course, remember this isn't a magic solution - other factors are at play in ensuring your tent stays as dry as possible. But as far as your first line of defence goes, the rainfly is your stalwart soldier on the frontline of the battle against moisture.
Seam Sealing: The Key to Keeping Dry
Seam sealing is one of those camping essentials that often gets overlooked, but believe me, it can make or break your camping experience—ever woke up in the middle of the night to a damp sleeping bag, wondering how water got inside despite your tent's claim of being "waterproof"? It was likely nothing more than an unsealed or poorly sealed tent seam.
What's a tent seam, and why does it need sealing?
Please have a look at your tent. Notice those lines where different pieces of fabric join together? They're seams. And while they are necessary for the tent's construction, they are also the most vulnerable points for moisture to sneak in. Hence, applying a waterproof substance (usually clear silicone sealant) to these seams is known as seam sealing, a kind of insurance against those pesky midnight water leaks.
DIY Seam Sealing
Some high-end tents come with factory-sealed seams (don't assume; it would be indicated in the tent description), so you won't have to lift a finger. However, price is not the only indicator here - ten-person and two-person tents cost the same - but only one is likely to be thoroughly sealed at that price. If you've grabbed a bargain or a second-hand tent, chances are you'll have to wield the seam sealer yourself. It's not as daunting as it sounds. You'll need a tube of seam sealer designed for tents (most outdoor shops stock it) and a steady hand. Here's how you do it:
- Clean and dry the seams. Applying sealant over dirt or moisture will not end well.
- Apply the sealant along the seams. Try to keep your lines neat, and cover all stitch holes thoroughly.
- Let it dry. This can take up to 12 hours, so pick a good day for the task!
Checking Your Seams
Once it's all dry, it's time to check your work. A sprinkling of water across the seams should reveal any weak spots – if water beads up and rolls off, success! If it soaks through, it's back to square one, I'm afraid. But an afternoon of prep can and will stave off countless restless, damp nights. Remember that it's good practice to check your tent seams before each trip. Over time, even the best sealant can wear thin.
The Battle with Condensation: Managing Moisture Inside Your Tent
So, we've discussed that condensation is the unseen enemy inside your tent. The million-pound question is, how do we prevent it? While you can't eliminate condensation, managing and reducing its effects is possible. We need to understand how condensation forms in the first place.
The process is quite simple - when warm air hits the colder surface of your tent, it cools down and releases its moisture in the form of tiny droplets. This is what you see clinging to your tent walls in the morning. Not ideal, I know.
Use the Ventilation Features
First and foremost, all good tents will have some ventilation system - usually vents or mesh panels. These are not just there for good looks, folks. The vents allow the warm air to escape before it hits the cool tent fabric and decants its moist cargo, thus helping to reduce condensation. So, be sure to keep those vents open, especially during the night.
Keep Your Gear Dry
Another tip is to avoid bringing wet gear into your tent whenever possible. Wet clothes, wet dogs, or damp equipment will add to the moisture content inside the tent. It's always a good idea to air out your clothes and remember to wipe down your stuff before bringing it inside.
Campsite Selection
Lastly, consider where you are setting up camp. A breezy bluff might help reduce condensation more effectively than a frigid valley or beside a babbling brook. The surroundings can make a big difference in the fight against condensation.
Remember, the goal is to manage condensation and keep it from becoming a problem, not to eliminate it – because that's almost impossible. If you try the measures we discussed above, I bet your mornings will be less dewy inside the tent.

Morning Dew: How to Deal with Exterior Moisture
So you've woken up bright and early, ready to embrace another day outdoors - only to find your tent soaking wet from morning dew. In these situations, it's not the heavy rain or leaking streams to blame; it's the humble morning dew. Nothing puts a dampener (excuse the dry humour) on your camping spirits like a soggy tent. But fear not - here's how to deal with the dreaded exterior moisture.
Understanding Morning Dew
Dew is formed when the air cools down overnight. The moisture from the air turns into water droplets and settles on your tent - and pretty much everything else. Hypothetically, you could sleep under a clear starry sky and still wake up with a damp sleeping bag. Fascinating. Now, let's see how you can tackle this persistent foe.
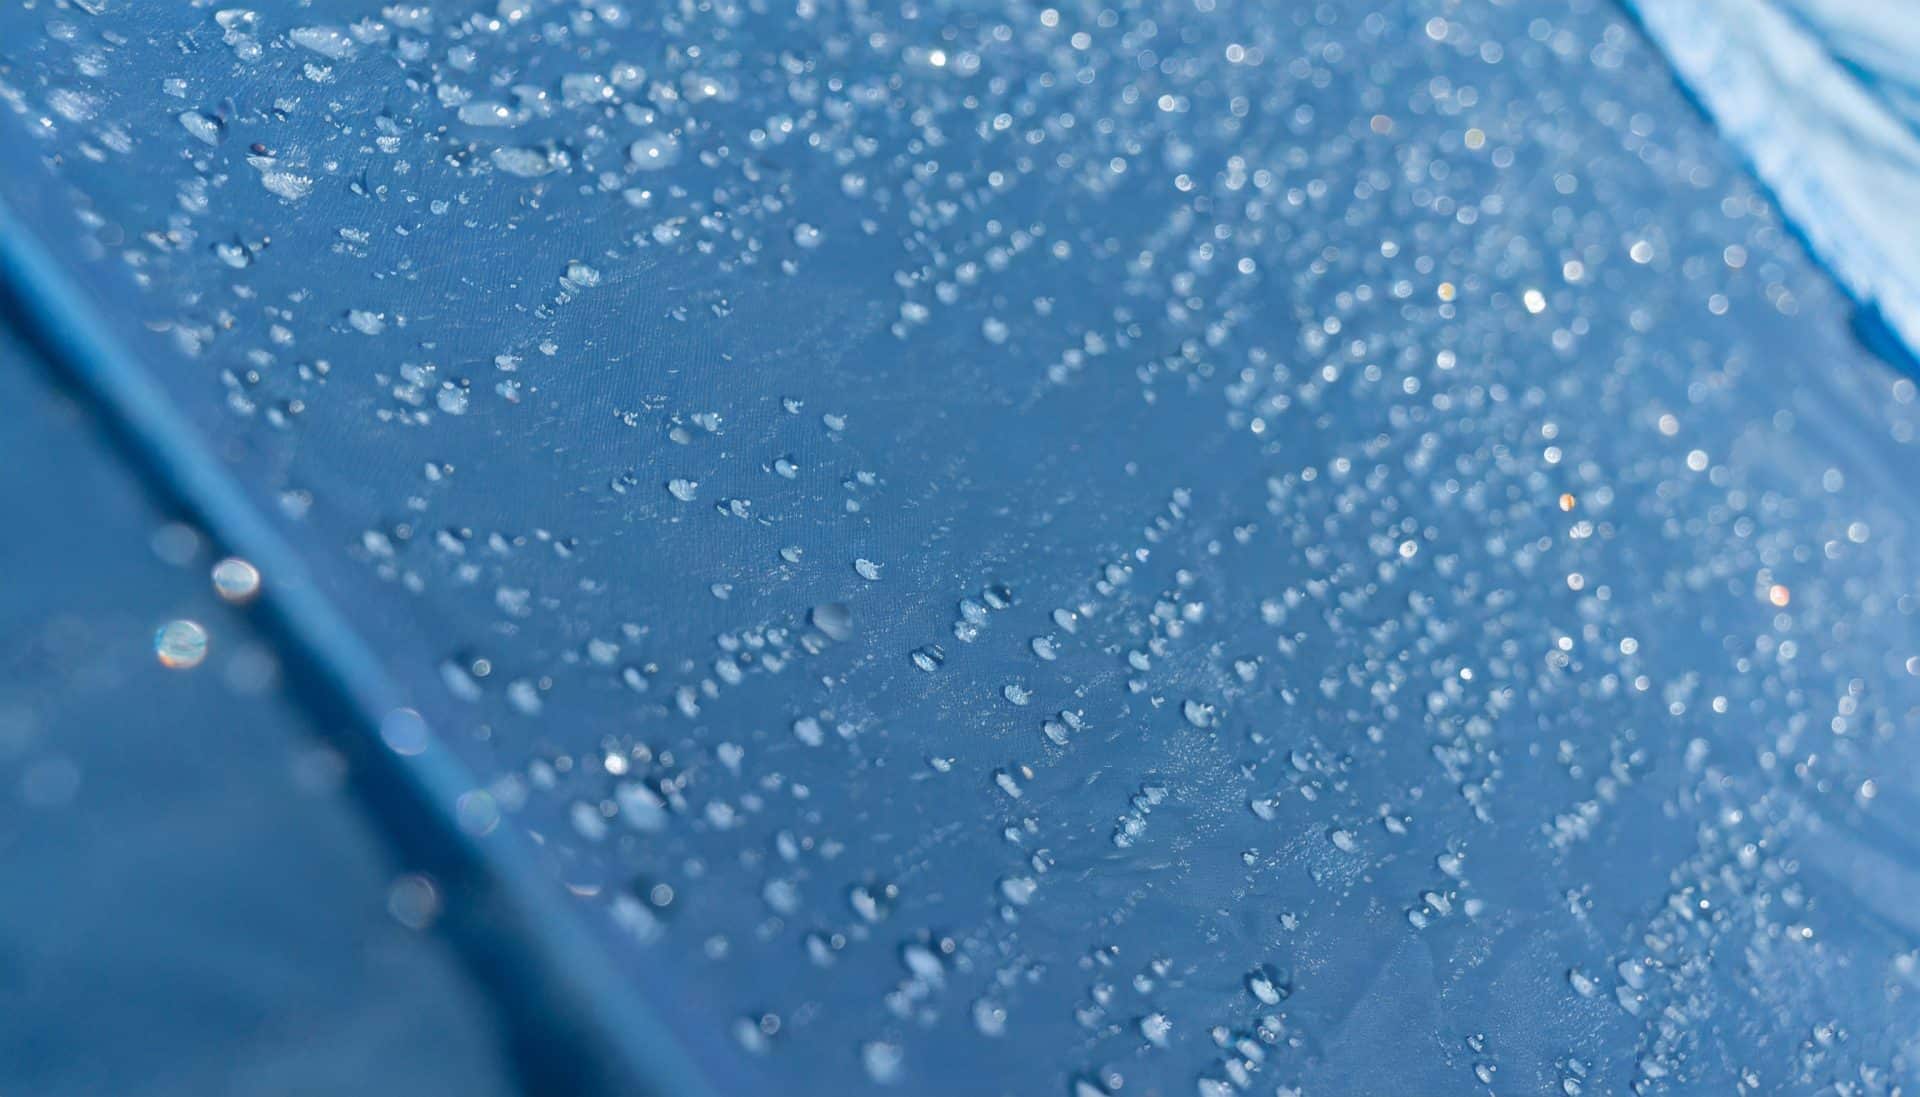
Morning dew is moisture that forms on surfaces during the night when the temperature drops.Not all tents are fully waterproof, and their level of water resistance may vary.
Use a Tent Fly
First things first - if you haven't already, invest in a quality tent fly. Your tent fly shouldn't be just any old material - look for one with a decent water-repellent coating. This outer layer protects your tent from getting too wet by daybreak, and it's a lifesaver when dealing with dew.
Dewing It Right with Proper Storage
So what do you do when you've packed up your tent only to find it's still damp with dew? The key is practical storage. Never pack your tent away whilst it's still wet. A damp tent is a breeding ground for mould and mildew, and trust me - you don't want to learn that the hard way. If you can, hang your tent out to dry before packing it away. If that's not possible, air it out as soon as you can when you get home.
All in all, morning dew, while unassuming, can prove to be quite a nuisance on camping trips. But by understanding what causes it and effective ways of dealing with it - you'll keep your tent dry and your camping spirits high!
Packing Up a Wet Tent: Tips for Drying and Storing
So, you've had a brilliant adventure, but the weather had other plans, huh? I woke up and found the tent sodden. No worries; it happens to the best of us. Now, we will discuss packing a wet tent and a few tips for drying and storing. Get ready to take notes - as this could save your camping trip from future game of 'dodge the mould'.
Packing Up a Soggy Tent – Can You Do That?
Well, you could, but it's not particularly recommended - why? Well, moisture can cause mould and mildew to pop up and party. The damage can be considerably harmful not only to your tent but also to your health.
But hey, what can you do if you have no choice? It's not like any of us can control the weather, right? So, if you must pack up a wet tent, try to shake off as much water as possible before you start. Rack up those muscles, give it a good shake and get rid of as much water as possible. Mind the neighbouring tents, though!
Packing Wet and Setting Up Dry
When you get home, or somewhere where you have the space and time (and hopefully some sun), set up your tent again as if it is still enjoying its night under the stars. Let the sun (or wind or warm room) do its magic and evaporate the clinging water. Don't forget to turn it inside out; water loves hanging out in the darnedest places.
Proper Storage Equals Longer Tent Life
Storage is the final door that your tent must pass through before its next adventure. Remember, don't just stuff it back in its bag without a thorough drying. In addition to drying, keep it loosely stored when not in use to allow for ventilation, which helps prevent the unpleasant odours that can arise from constant dampness.
Research suggests that temperature-controlled, dry environments are the best for tent storage. Avoid places that are humid or too hot. Think about your closet, garage, or even under the bed - as long as it's dry and cool, it's good to go!
Beyond Rain: Other Causes of Tent Moisture
While much of our moisture-mitigation focus falls on rainfall and condensation, it's essential to consider other elements that could contribute to a damp tent. Let's delve into those potentially overlooked causes of tent wetness - the ones that can sneak up on us completely unannounced.
Rivers and Moist Ground
You might think that setting up your tent near a river would make for a picturesque and serene camping spot. While that's not entirely wrong—the sound of a flowing river can be enchanting—you'd also be inviting a higher risk of dampness into your tent. Remember that moisture can rise from the ground. The more damp or moist the soil is - as is common near rivers - the higher the possibility of waking up in a soggy sleeping bag.
Spilled Drinks
We've all done it. You're settling for a cosy night in the tent; reach for your hot chocolate or water bottle, and whoops! Spillage. Don't underestimate the damage liquids can do inside a tent, mainly if it soaks into your sleeping bag or mat. It's worth being extra careful with your drinks. Or even, crazy thought, enjoy them outside under the stars where spills can be quickly dealt with.
Wet Clothes and Gear
Believe it or not, wet clothes can thoughtfully contribute to the dampness in your tent. If you've been hiking all day in the rain or have taken a dip in a cold mountain stream, be mindful about bringing your wet clothes into the tent with you. They can significantly increase the moisture level, creating an unpleasant experience. Waterproof bags for damp gear are an excellent way to contain excess moisture.
Human Factors: Breathing and Sweating
You might not realise it, but breathing releases much moisture. Combine this with the heat from your body, and your tent can become surprisingly damp on the inside. The same goes for sweating. If you've been exerting yourself during the day and then hop into your tent without taking off your sweaty layers, you'll add extra moisture to the environment.
As campers, we must remember these additional sources of moisture, remain vigilant and take necessary actions to ensure a dry, comfortable camping experience. A bit of forethinking can be the difference between waking up refreshed or soggy - I know which one I'd prefer!
So there you have it, folks. Tent moisture may be inevitable in your camping adventure, but its pesky effects can be effectively combatted with the right strategies. Knowledge is power, as they say - so go forth, armed and ready for the next rainy camping day. Happy tenting!